 |
Only 9 days to go until the big day!
For us that breaks out into 5 days of school/work followed by 4 days of last minute shopping, making and generally feeling over-excited! There's also a couple of Christmas parties coming up which led to todays festive theme tutorial which is, as you can see above, a pair of cute Snowman Charm Earrings!
As well as being nearly Christmas, it's also nearly the winter solstice and don't we know it with all these dark & dreary mornings (it's definately made photographing the step-by-steps a bit trickier today!) We haven't actually had any snow here yet - or even a hard frost to speak of but I keep reading that we are going to be hit by 'arctic' weather this winter so I guess we'll just have to see.
Anyway, back to the earrings. You will need to gather up some beads & bits as follows: 2 x 8mm white beads, 2 x 6mm white beads, 2 x large black sequins, 2 x large seed beads in black, 2 x small seed beads in orange & blue plus a couple of long head pins.
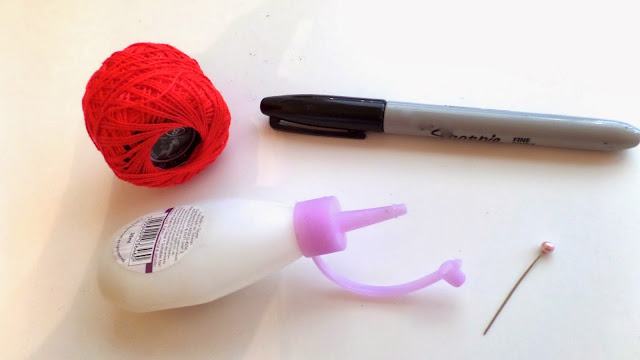
You will also need a black marker pen, glue, pin and some fine red crochet thread.
I used a variety of tools such as a small crochet hook, scissors, and various jewellery pliers.
So first, prepare your snowman 'head' and 'body' beads - which basically means drawing some black buttons on the large white bead and a face on the small one.
Then make a small 'scarf' by crocheting a row or about 8 chain stitches with a very fine crochet hook (leave the ends and inch or so long for now as it makes tying it much easier)
Now you can start to assemble the snowman by slipping one of the tiny blue seed beads onto a headpin followed by the 'body' bead.
Then tie the scarf around the pin and add a dot of glue before adding the 'head' bead and holding them together for a moment while they set.
Once set, you can trim the thread ends off the scarf.
Add another dot of glue and slide on a large sequin and large seed bead for the 'hat'.
Then, the last but most fiddly bit, use a pin to add a minute dot of glue to the snowman's face and pop a tiny orange seed bead on for the 'nose'. Leave it to dry.
Repeat the process to make a second snowman with the remaining beads...
Once the glue on the Snowmen has set, you can bend the wire tips over at right angles and trim, leaving just enough to turn a loop.
Use round nose pliers to turn a loop on the tops of each Snowman and straighten up a little if necessary.
Now just add your charms to a couple of earring findings!
If you're not off to a party, these would always make a sweet little christmas gift too...
Who could resist these Christmas cuties?!
With not long to go to the 25th the question now arises: will I manage to get another yule tide tutorial done and...you'll have to check back to see :-)
Happy Making!
(p.s. my snowflake background paper for the main picture was from the Christmas issue of Homes & Antiques)


They are so lovely.
ReplyDeleteThank you xx
Delete